I have taken six of my photos to look at to discuss their balance. I have printed off the photos and drawn on the scales and made a note of which balance they are. However, for some reason my scanner will not pick up the drawings, so I will have to upload the pictures without the drawings for now, I have kept the hard copies in my folder.
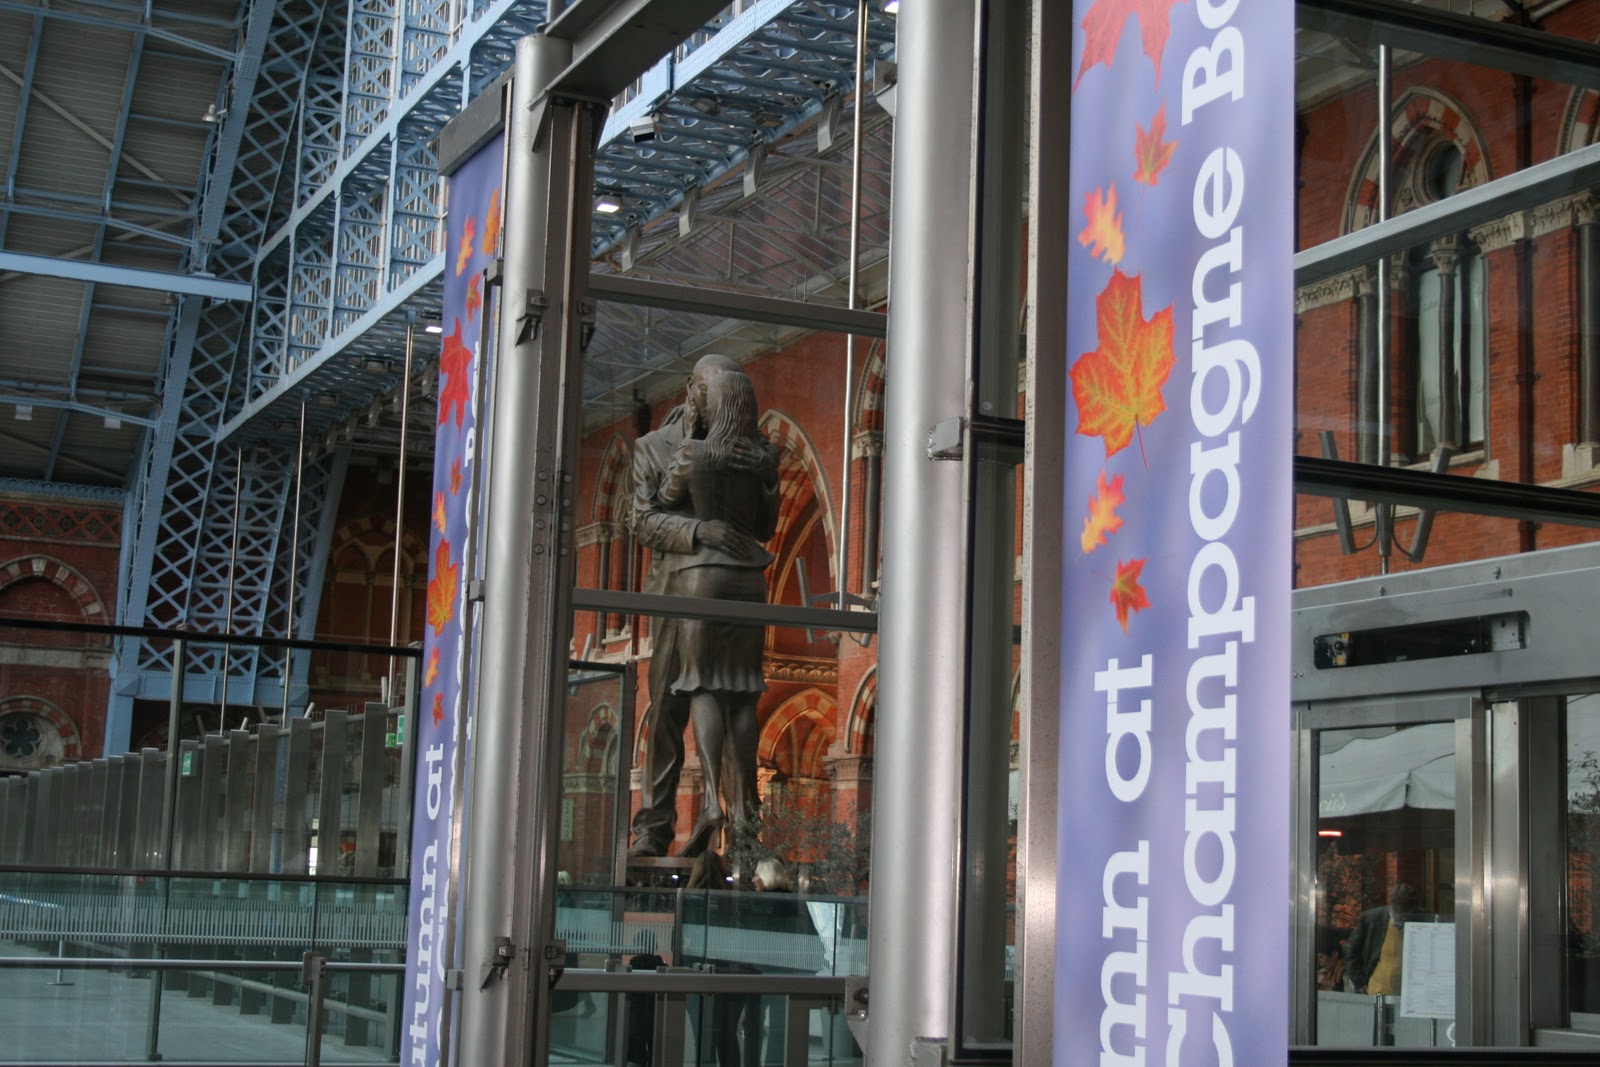
Firstly I looked at dynamic balance, two unequal objects can be balanced by placing them carefully in the frame so that the larger object is closer to the centre and the smaller one is nearer the edge of the frame.
Secondly, I have two pictures which are maximum symmetry, this occurs when objects or lines radiate around the frames centre giving symmetry on all axes.
Well, I'm having computer problems today !! now my second picture will not upload but I shall carry on with the next selection and come back to this..
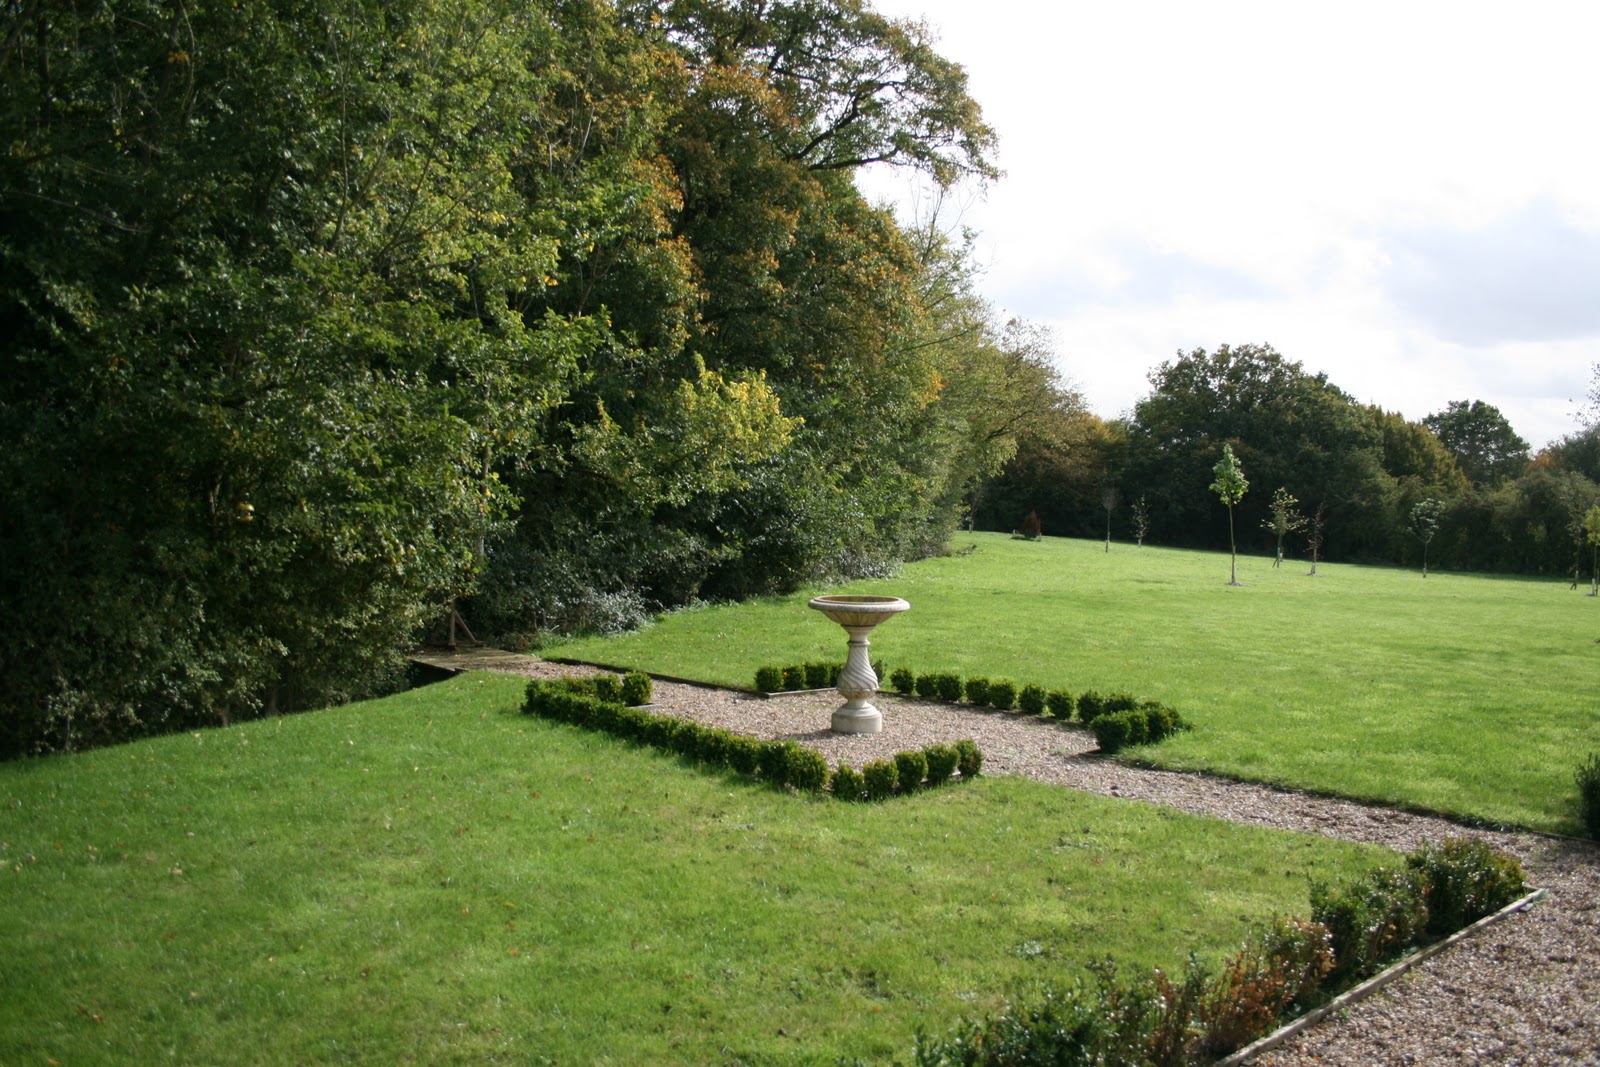
Hopefully the next three pictures will upload and they will be symmetrical, symmetry about one axis creates a static balance. If one visual element or force is positioned slightly away from the centre, even by a small amount, the balance of the picture is upset.
After looking at my photos firstly I realise that I hardly ever take any pictures with maximum symmetry, this is something I shall look out for.
The wedding photo was quite obvious to me that this was unequal, this was the effect I wanted when I took it. The block of dark green makes it very easy to identify.
I feel the symmetrical photos are pretty much self explanatory and I find these easy to identify. I have more difficulty with various landscapes, some of them are not as clear, and take more study time to decipher.
Thursday, 28 October 2010
Wednesday, 27 October 2010
Exercise: Focal Lengths and different viewpoints.
Here we are using different lenses to create varied results to the same picture. I used my wide angle lens and zoom lens to create a bigger difference between the shots.
This is a good example of the effects on a photograph, the second one brings the plant into focus and blocks out any unwanted images in the background.
The same here, the second picture is up close and intimate, focusing purely on the object. The long lens gives a reduced depth of field so the object stands out clearly against the background.
I really like the way these pictures look, especially when you take pictures of people. The viewer feels a lot closer to the subject in the 'zoom' pictures, and its very focused as there is nothing in the picture distracting you.
Camera Information
Picture 1 : 1/320 f11
Picture 2: 1/200 f5.6 zoom
Picture 3: 1/125 f10
Picture 4: 1/250 f5.6 zoom
Picture 5: 1/125 f9
Picture 6: 1/100 f5.6 zoom
Exercise: Focal Lengths
For this I selected a view with some detail in the distance, and using my Zoom lens I started to take photos. My final results were taken with the lens at 70mm, 100mm, 135mm, 200mm, and 300mm.
Taken at 70mm
Taken at 100mm
Taken at 135mm
Taken at 200mm
Taken at 300mm
At 70mm the angle is a lot wider showing much more of the countryside. Each picture gets closer to the cottages, gradually cutting out the surroundings. Finally the picture taken at 300mm is in tight on the cottages. It gives the impression of being nearer although the camera stays in the same position.
With the camera to my eye and set at 300mm I notice that it cuts out all the peripheral view compared to when I don't look through the viewfinder. When I look at the cottages with my eye, I see all the surrounding countryside.
Exercise: A sequence of composition
The sun is shining brightly, today I planned to go to Kings Cross Station to carry out the 'sequence of composition' exercise.
I havent been to Kings Cross since the completion of the renovations and I wanted to see the Sculpture by Paul Day, The Meeting Place. I thought this would suit my requirements, and be able to take plenty of photos, or a sequence of photos.
I gathered all my things together and then had a panic, I hadn't charged the battery, I really must get into the habit of this because this could be my downfall ... Anyway fingers crossed it will last the day. I have packed a spare compact camera just in case..
Kings Cross is an amazing building of beautiful architecture, I was unfamiliar with the station so had a wander to find my statue, it wasn't very busy and soon came across 'Sir John Betjeman' - well his statue anyway. From here I could see the clock and knew the statue, The Meeting Place, was beneath. I started to take my pictures....
Because of the way the train came into the station I was unable to take the pictures directly in front and so started taking them from the side view and worked my way forward..
I took shots from various different angles, my final shot is a silhouette, with the sunlight shining through, showing off the lines of the symmetry of the roof.
Taking lots of photos like this helps you use the viewfinder to select your various views. Also taking more pictures then you need gives you a larger selection to choose from, and you may even find a better shot than you expected when you look at them on the computer.
I have learned from this also that you can't plan your photo shoot exactly until you have visited the location, as things might not be as you expected them to be, or they may be set out in a different way. So you can have an idea in your head but may need to re adjust when you get there.
....... and thankfully the battery held out !
Tuesday, 19 October 2010
Exercise: Object in different positions in the frame.
The weather wasn't great and the photos have a 'dull' feel and thats because it was a 'dull' day !
I found an open space and took the following photos to place my subject in different positions in the viewfinder.
The picture that I prefer is picture 2. To have the object exactly central seems to harsh, picture 2 is slightly off centre which softens the look and it gives the subject and area to move into if he were walking. Then my order of preference after that would be, secondly, picture 1. Third, picture 3, with this picture although he is too high there is space to the left to move into. Fourth, picture 5. Lastly I least like picture four as the subject is tucked up high in the frame, with nowhere to move to and he seems to be floating aimlessly.
As I said I prefer the picture where the subject is slightly off centre, however there are times when I feel that having the subject completely central would be beneficial. Having the object exactly in the middle could be very powerful.
Exercise: Fitting the frame to the subject.
These were some of the first sets of pictures I practised on, and my notes I made were.... Relax, always check the camera settings, don't rush what you are doing, take time and get your balance, make sure your shots are line up correctly and level..
This first picture was taken without too much consideration - this is picture one, to use as a baseline shot. 1/800 f4.
Picture two tightly fits the frame. 1/1000 f5.6.
Picture 3 .. Close in so you can see none of the edges. 1/800 f5.6.
And picture four, 1/1600 f4, the subject occupies only a small part of the frame.
L FRAMES
I have laid the frames over this picture to select three other shots that I would like to take from this original. Your choice would be made dependant on how you wanted your final image to look.
Exercise: Panning
My second attempt was with the cyclists. I was fairly happy with the results, although getting the subject central of the viewfinder was challenging. Panning goes against everything you normally do. You would as a rule try and keep your camera as still as possible, so it feels unnatural.
Of these first three photographs, the first and third were taken at 1/30 and the image seems sharper, the second picture was 1/60 and the image is more blurred.
All the above photos were taken at 1/60 shutter speed, the results vary but I think this is due to a variation in the bike speed. The next three shoots were taken at 1/30, but again there were different bike speeds.
I personally prefer the sharp image on the blurred background, however when the whole image is blurred I feel this gives a good expression of speed.
The different styles would suit different situations, and depends upon how you want the final image to look. This is something that I shall keep practising as I like the pictures that it produces, and I feel I haven't nailed it yet..
Subscribe to:
Posts (Atom)